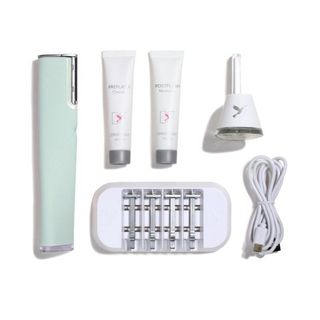
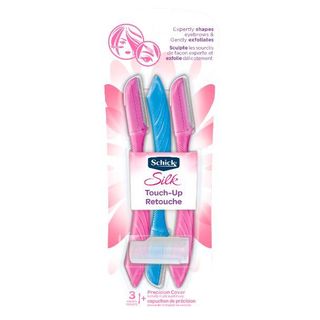
News flash: Shaving is no longer relegated to your underarms, bikini line, and legs—people are shaving their faces now. It’s called dermaplaning, and the procedure is usually performed in-office by a dermatologist or esthetician using a fancy tool called a scalpel. But as a result of the coronavirus pandemic, life has been put on pause, and there’s no telling how soon we’ll be able to get a facial. What hasn’t ceased, though, are the vellus hairs (aka little whiskers or peach fuzz) growing on our faces. Sure, you can wait until it’s absolutely safe to leave your home and visit your facialist—or do it yourself.
Turning a razor to your face sounds intimidating, but it’s not as difficult as you think. Ahead, licensed esthetician and founder of Urban Skin RX shares a few tips to help you safely remove those unwanted hairs on your face.
What are the benefits of dermaplaning?
Dermaplaning does so much more than remove hair from the skin. “It’s a skin treatment that uses a surgical blade to gently and safely exfoliate dead skin cells and fine facial hair,” Roff explains. As you remove the hair and dead skin cells, you’ll quickly notice how much brighter and softer your skin appears. “It also creates an ideal canvas for flawless makeup application and helps treatment serums penetrate the skin deeper,” adds Roff. “You would be amazed at all the fine hair, dirt and dead skin that comes off of your face and I would consider it just as safe as shaving your legs.”
What’s the difference between in-office and at-home dermaplaning?
According to Roff, it all boils down to the tools used. “In a professional office setting, such as a dermatologist office or medical spa, the treatment is performed by a licensed aesthetician using a surgical blade that you can only purchase with a license,” she says. With this professional-grade blade, clients receive deeper exfoliation that wouldn’t normally get when they perform it themselves. Plus, in-office treatments provide additional treatments clients can add to their treatment to achieve optimal results. However, at-home dermaplaning has becoming in-demand thanks to its affordability. “At-home dermplaning gives similar results and you can layer an at-home peel like the Urban Skin Rx Pro Strength Dermapeel Smooth & Glow Treatment 2 Step System which comes with a blade and at-home chemical peel.”
What tools do you need?
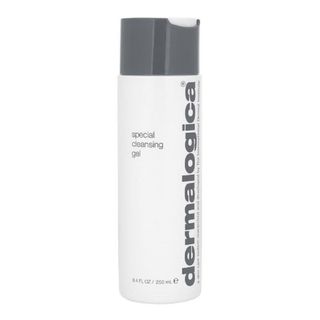
Roff suggests investing in a quality dermaplaning tool and cleanser to remove all oils and dirt from before the treatment.”You will want to cleanse your face first deeply. I recommend double cleansing and then thoroughly dry your skin,” Roff says. “No skincare products should be on the skin when dermaplaning.”
What’s the process from start to finish?
- First, thoroughly cleanse and dry the skin.
- Then, take your blade in one hand and place it at the jawline. Hold the skin tight/taut with your opposite hand. Gently stroke the dermaplaning tool in short, feathery like strokes upward. Continue until you have covered the full cheek and jawline area on both sides.
- Repeat on the lip, chin, nose, forehead, and neck. Do not repeat strokes on an area you have already covered.
- Once you’re done, apply your treatment product or your moisturizer. You can repeat these steps every 3-4 days.
This content is imported from YouTube. You may be able to find the same content in another format, or you may be able to find more information, at their web site.
What does aftercare entail?
Unlike a chemical peel, dermaplaning requires no downtime. But you should always keep your skin hydrated and protected using sunscreen.
This content is created and maintained by a third party, and imported onto this page to help users provide their email addresses. You may be able to find more information about this and similar content at piano.io


