This week we are showing how to make a unique “coiled bun” updo hairstyle. This bun would be great for dance, ballet, figure skating, recitals, communions, weddings, church, holidays, etc.
The technique used to make this bun is fairly easy and quick. If you know how to make a rope braid and a slide-up braid (or snake braid) this should be a cinch for you.
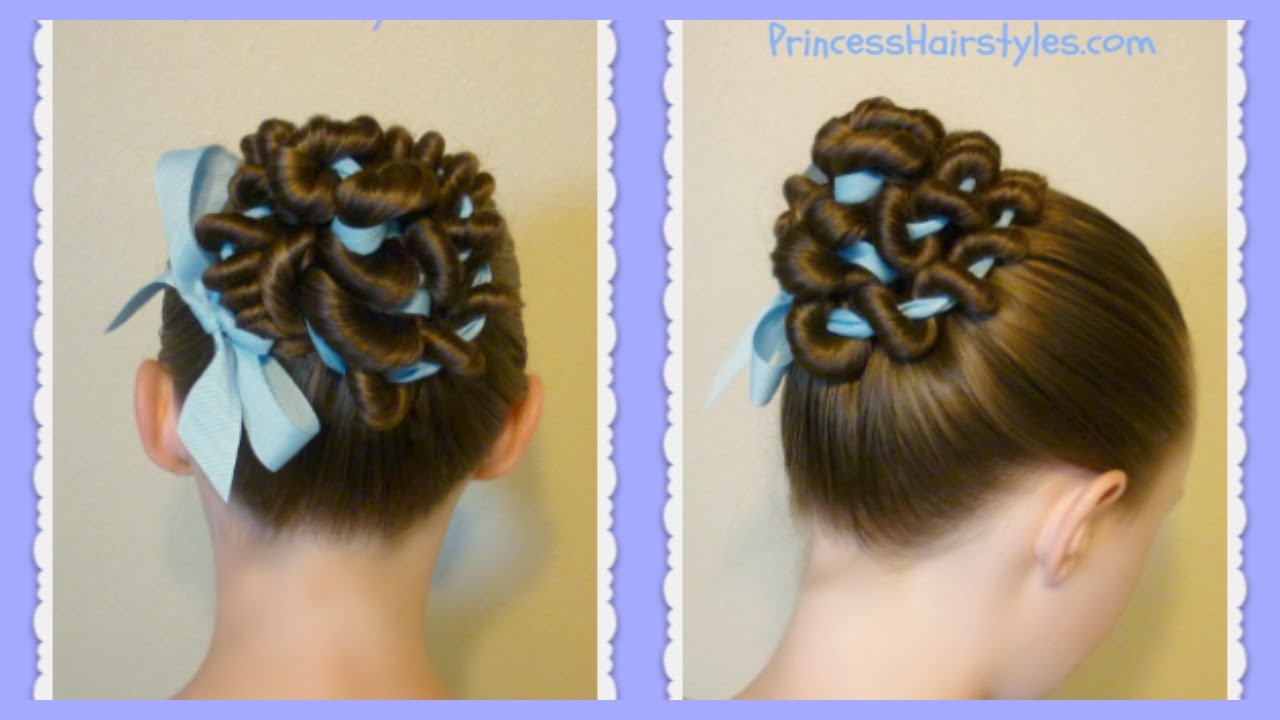
As mentioned in our video tutorial, there is no exact science to creating this bun and some of it will depend on the length of hair you are working with. These coils can be manipulated somewhat to be stretched longer, or scrunched up shorter… and you can really arrange them however you want to form the updo. We chose to tie our leftover ribbon into a bow at the side of the bun for a sweet “girlish” touch. The bow can also be placed at the bottom of the bun, or at the top of the bun (depending on how you arrange your coils.) Of course, If you prefer not to add a bow to your updo, you can clip your ribbon and tuck in the ends for more of a grown up look.
We featured a similar technique several years ago in our “spring rings hairstyle” (https://www.youtube.com/watch?v=uoL9Cic-j0M) in which we used 2 thin strands of hair to make the rope braid and slide up. We used this technique to accent a simple half up style in that tutorial. With the original technique, you end up with one long stand of hair and one coiled strand, which isn’t ideal for some hairstyles. We decided to try making the coils using ribbon (instead of hair) this time to eliminate the one long remaining strand of hair and ended up loving how the ribbon looks peeking through, especially when pinned up into a bun. The other perk of using ribbon instead of hair becomes apparent when the coils are taken down the next day, and all of your hair is curled into ringlets (instead of only half of it.) You could actually use this as a no heat curling method if you wanted to!
At the end of our video tutorial we show how to make a super easy 5 minute messy bun with the 2nd day coils. This is just an example of an endless amount of styles that could be made with these fun ringlets.
We first saw the original unique looking coiled braid accented on a style at a Renaissance Faire several years ago and have used it a few times since in a variety of styles. I think this ribbon bun variation is our favorite so far! We have also seen several pictures of hairstyles using the original technique to accent hairstyles on Pinterest and Facebook. Two accounts I have noticed who have used this braid in a variety of hairstyles are “cute and glossy” and “hair braiding” if you are looking for more ideas.
Tip: I would suggest adding water, gel, or pomade to your hair before you attempt making the coils to help avoid flyaways. Also, the width and texture of ribbon you use is going to make a difference in how these coils turn out, so you may want to experiment.
Our links:
http://facebook.com/princesshairstyles
http://instagram.com/hair4myprincess
http://pinterest.com/hair4myprincess
http://princesshairstyles.com
Our free app:
ITunes: https://itunes.apple.com/us/app/princess-hairstyles/id815205625?mt=8
Google Play: https://play.google.com/store/apps/details?id=org.javatech.android.princesshairstyles
*Royalty free background music from the youtube library.