In a perfect world, our fresh set of acrylic nails would neat, chic, and chip-free forever. But here in the real world, acrylic nails are prone to breakage—some nails falling off completely—nail polish cracks easily, and after a while, the new nail growth just isn’t a pleasant sight to see. There comes a point in time when you can’t scurry over to your manicurist for a re-up and you’re faced with your only solution: removing the acrylic yourself.
Before you reach for your Metrocard or any other tips you might’ve picked up over the years, stop—there’s a safer way to remove your acrylic. Ahead, celebrity nail artist, and Nails.Inc ambassador Lisa Logan shares her personal tips and tricks for at-home acrylic removal, damage-free.
Wait, I thought acrylic nails were bad for your natural nail?
First things first: acrylic isn’t bad, despite what horror stories you’ve heard. “I believe that proper application and removal is key for any product that you apply to your nails,” Logan says. It all boils down to finding a good technician who knows how to properly apply acrylic to your nails or using the proper tools at-home, according to Logan.
What products are needed for at-home acrylic removal
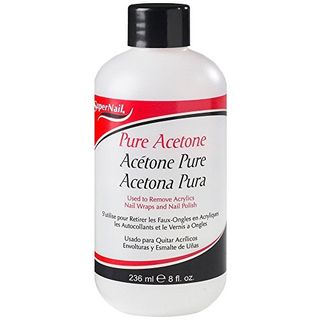
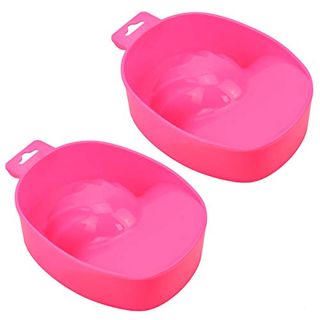
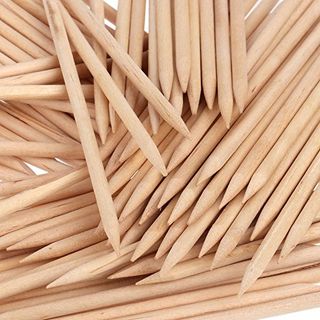
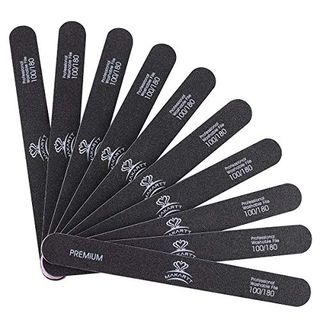
“[There are] untraditional methods for removing acrylic like using metro cards, because they are very thin and can be wedged in between the nail and product. But acrylic is best removed with acetone or a drill,” Logan explains. However, the most effective way to remove acrylic off your nail is soaking your nails in pure acetone, which helps to melt off the gel/acrylic to prevent excessive scraping and peeling. Logan also suggests investing in a manicure bowl, cotton balls, foil paper, nail file and a wooden stick.
How to Remove Your Acrylic/Gel Manicure At Home in Five Steps:
- Use nail file to remove shine (top layer) off of gel or nail polish color.
- Soak your cotton balls in acetone.
- Cut your foil in squares—enough to wrap around your finger—and tightly wrap the cotton ball to nail plate where the rest of the gel color is.
- Let the acetone set on nails for at least 20 minutes.
- After the 20 minutes, you will see the gel detaching itself from the nail plate. Grab the orange wood stick to help left the excess gel off the nail.
- Now for the fun part. Cut and shape the nail so it doesn’t snag on anything. Then, soak your hands in warm soapy water.
- Remove hand and push back your cuticle, cleaning up loose skin and dry cuticles.
- Dry and buff the nail to create a smooth surface. Repeat on the other hand
What does aftercare look like?
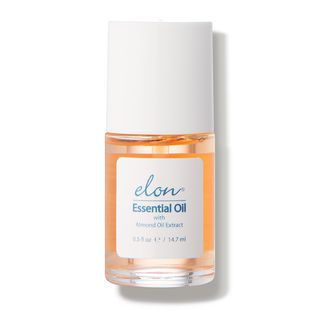
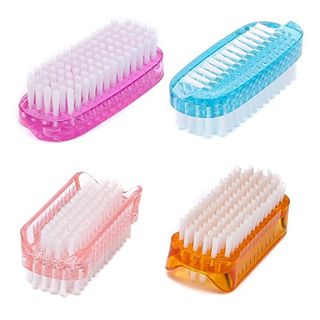
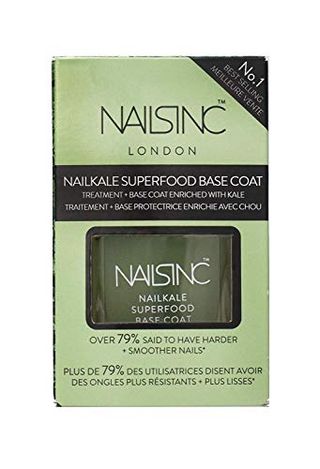
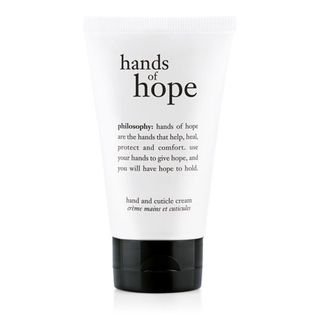
You just put your nails through a lot, so now it’s time to hydrate the nail bed to strengthen it. “Add a cuticle oil and massage it into nail and cuticle,” Logan adds. “Wash your hands using a nail brush to clean the nail plate one last time.” Once your nails are clean, Logan says to paint the nail using Nails. Inc Nailkale base coat—a nail polish formulated with kale extract to build up weakened nails. You can stop there and leave your nails bare, or give yourself a full manicure using another nail color.
And if you’re more of a visual learner. Try this YouTube video:

