Gel manicures might be one of the greatest beauty inventions ever. Let me explain: They’re chip-resistant and have longevity no regular nail lacquer could even begin to compete with. In a nutshell, you can have perfect nails for up to two weeks without worry.
Now the one downside? Removal. Since the COVID-19 pandemic struck, one of the top questions I’ve received as an editor is, “How do I get this gel off without damaging my nails?” Unfortunately, unlike regular polish, they don’t come off with a simple swipe of acetone, it takes some work. And, sadly, if you don’t do it properly you can damage your nails—Le sigh.
Even if your mani has been holding on for four weeks, it’s time to call it a quits. “You’ll feel it snagging everything when it starts to lift, like your hair when you’re washing your hair,” explains Los Angeles-based celebrity nail artist and consultant for ORLY, Brittney Boyce. “That actually makes it more prone for you to accidentally rip it off, which is more damaging to your nails.”
Ahead, a break down on how to precisely remove your gel manicure from the experts.
Step One: File
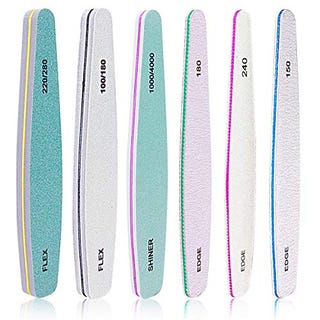
Never ever ever file all the way to your natural nail, warns Boyce. A gel manicure usually consists of up to four coats of polish, so you’ll need to buff down the top coat but that’s where you stop.
“Always file with even pressure,” Boyce adds. “File down around 30-50% of the gel, then let the acetone do the rest of the job. If it starts to hurt or you feel a burning sensation, you’ve filed too much.”
Nadine Abramcyk, the co-founder of tenoverten, agrees. “Go gently and remember you can always go back to file more, but you cannot reverse damage from filing on top of the natural nail once done,” she adds.
Step Two: Soak
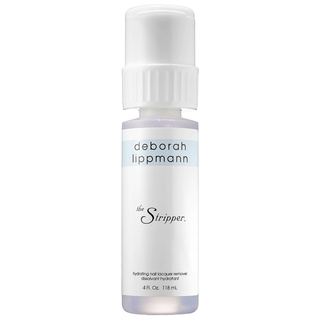
A job like this calls for acetone. Whatever drugstore nail polish remover you have lying around just won’t do. If you want that gel mani gone, you have to use acetone.
“It has to be 100% pure acetone, not polish remover or mixed with polish remover,” emphasizes nail artist Eri Ishizu. “Polish remover doesn’t soak gels.” She also recommends applying a little bit of oil around cuticles before wrapping them with acetone to avoid excessive dryness.
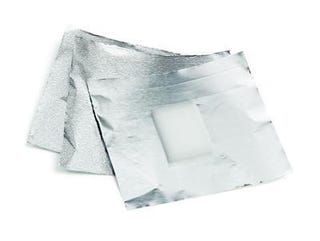
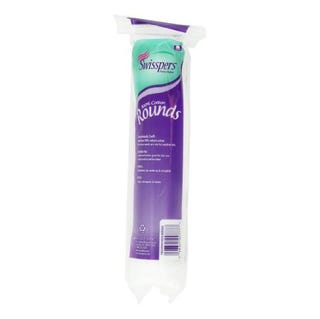
According to Abramcyk, the best at-home soaking process is “drenching a piece of cotton in acetone and lying one on top of each nail, then wrapping each nail with foil to keep the cotton balls in place and hugging the nail.”
But if you don’t have that handy, a bowl will work just fine. Sarah Gibson Tuttle, the founder of L.A. nail salon Olive & June, has a great pro tip to add: “We like to wrap a hot towel around as well to expedite the soaking process.”
Step Three: Wait
Ishizu advises clients to wait around ten minutes for the lifting process to start. “Sometimes, it takes longer so don’t rush, don’t scrape too harshly, or file them down, all that damages your nails,” adds Ishizu.
With your fingers wrapped in foil, you won’t be able to really do anything but Gibson Tuttle has a fix. “Remove while you’re FaceTiming a friend or watching TV, so you’re not tempted to damage your nails by rushing,” Gibson Tuttle suggests.
After soaking your nails in the acetone, the polish usually peels off on its own without much manipulation. If you come up against a hard spot, re-file that tough area, and re-soak for an additional five minutes.
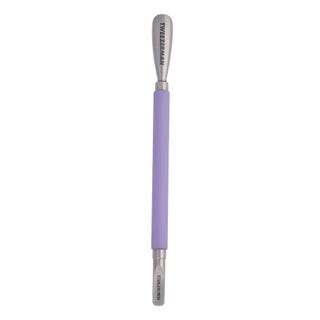
Another pro tip? Hold your hands under running water and use an orangewood stick (which is a cuticle pusher) to lift the gel from the nail gently, explains Abramcyk.
Step Four: Finish & Treat
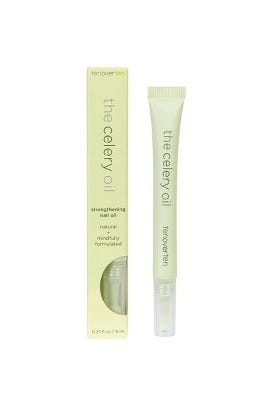
Next, make sure to use a nail strengthening oil to rehabilitate your nails. “Apply oils multiple times a day to bring your nails back to life,” adds Abramcyk.” If you don’t have a nail oil specifically, then use coconut oil or even olive oil. This will help moisturize the nail beds and foster long term healthy nails.”
There’s a common misconception that removing gels leaves nails brittle and unhealthy. Gibson Tuttle assures that’s not the case: “Removal does not damage your nails when it’s done correctly and patiently,” she says. “But picking your gels off does hurt your nails and can prevent future polish or gel from sticking.”
In any case, less is more. “It’s always a good idea to take a gel break every three to four months anyway,” adds Boyce. “Right now is a perfect time since we’re home. Plus, doctors are recommending short nails so nothing gets trapped under your nails.”
Once you return to regular polish, opt for a strengthening base coat to form a protective layer on the nail. “Enjoy the break from gels, you might be surprised at how much fun you have with experimenting with natural nail polish for your DIY manicures while stuck at home,” suggests Abramcyk.

